Where My New Site Has Gone

My new site? It went to Internet Heaven.

Yup. I accidentally deleted ALL of the content. My new posts, pictures, everything. This happened about a year ago, and quite frankly I’m not sure why I’m posting about this on the site now… but some have asked on my Facebook page, and after looking at this sad, abandoned blog, I figured I owed readers at least an explanation.

How does one accidentally delete a site, you ask? Well… I didn’t click a big red self-destruct button, if that’s what you’re wondering.

images

Continue reading

Posted in Uncategorized | 16 Comments

New Site and Giveaway!

Hi everyone!
Miss Anthropist’s Kitchen has moved to its own domain: www.missanthropistskitchen.com

There is a new post and giveaway. Be sure to resubscribe so you don’t miss any recipes!

Posted in Uncategorized | 4 Comments

Fluffer Nutter Cups

You read correctly: not peanut butter cups– fluffer nutter cups!

For those of you who have never had the joy of combining peanut butter and marshmallow fluff (aka fluffer nutters)… I’m sorry. You have been missing out.

I don’t know why I thought to create them…I just did. They’re kind of incredible.

Check out my guest post at Procrastibaking for the recipe!

Enjoy!

Posted in Uncategorized | 21 Comments

Snickerdoodle Cupcakes

Wow. Being ‘Freshly Pressed’ on WordPress for the past 3 days has been such an unexpected honor.

I’ve received so many incredible comments, likes, shares, and subscriptions that it’s hard to keep up! (I’ve tried to respond to all the questions, but if I missed one, be sure to let me know). Thank you so much to everyone who has shared my blog with a friend or family member…I really appreciate it! And if anyone has tried a recipe or taken pictures, don’t hesitate to share it on the Facebook fan page.

But, you know…as happy and excited as I’d been the past few days, I’ve also been stressed… like s-t-ressed–I mean, I didn’t want to disappoint anyone with a lame new post, and what could possibly top the homemade Goldfish crackers with a homemade cookie cutter? It’s the equivalent of going on stage to sing when the person who preceded you was some adored rock star. So I spent the past few days brainstorming, and brainstorming, and brainstorming…

And suddenly, I had a vision. It came in the form of a cupcake.

A wonderful cinnamon-y snickerdoodle cupcake with fluffy whip-like frosting.

I spotted these beautiful cupcakes a while back on the Martha Stewart website and couldn’t wait until I finally got the chance to try it. Mine are certainly nowhere near as elegant as Martha Stewart’s, but I still thought they were so pretty…the cinnamon and sugar sprinkled on top look like edible glitter!

The cupcake itself is nothing too fancy–a perfect yellow cake with a hint of cinnamon. I’m making this my go-to yellow cake from now on. The cake itself is extremely easy to make, and they puffed up beautifully in the oven.

And although I personally loved the frosting (I’m obsessed with whipped-like things, and it was almost like marshmallow fluff without the stickiness), I know that some people may prefer a thicker buttercream. Not only that, but a buttercream is probably easier to make for the following reasons:

  1. Whipping the frosting takes a while since it’s egg-white based, and if you don’t have a stand mixer, you probably don’t want to be standing there holding your hand mixer for 10 minutes. (If you don’t even have a hand mixer, then do NOT make this frosting as it would probably take over 30 minutes by hand).
  2. You’ll need a candy thermometer to measure the temperature of the sugar and water boiling…I know. Not everyone has one, and I didn’t even have one until recently. They’re not expensive, though.

Below I’ve provided you with the optional buttercream frosting in case you decide you don’t want to make the Martha Stewart one.

This cupcake takes a little more work than some of the other simpler recipes I’ve posted on the blog, but it’s still really easy if you just take it step by step. And if you’re looking to make someone you love a special treat, these would be perfect. To me, this cupcake recipe is my way of saying thank you :)


Snickerdoodle Cupcakes

(makes 24-28 cupcakes)

  • 1 and 1/2 cups all-purpose flour
  • 1 and 1/2 cups cake flour (not self- rising), sifted
  • 1 tablespoon baking powder
  • 1/2 teaspoon salt
  • 1 tablespoon ground cinnamon, plus 1/2 teaspoon for dusting
  • 1 cup (2 sticks) unsalted butter, room temperature
  • 1 and 3/4 cups sugar, plus 2 tablespoons for dusting
  • 4 large eggs, room temperature
  • 2 teaspoons pure vanilla extract
  • 1 and 1/4 cups milk

Directions

  1. Preheat oven to 350 degrees. Line standard muffin tins with paper liners. Sift together both flours, baking powder, salt, and 1 tablespoon cinnamon.
  2. With an electric mixer on medium-high speed, cream butter and sugar until pale and fluffy. Add eggs, one at a time, beating until each is incorporated, scraping down sides of bowl as needed. Beat in vanilla. Reduce speed to low. Add flour mixture in three batches, alternating with two additions of milk, and beating until combined after each.
  3. Divide batter evenly among lined cups, filling each three-quarters full. Bake, rotating tins halfway through, until a cake tester inserted in centers comes out clean, about 20 minutes. Transfer tins to wire racks to cool completely before removing cupcakes. Cupcakes can be stored up to 2 days at room temperature, or frozen up to 2 months, in airtight containers.
  4. To finish cupcakes, combine remaining 1/2 teaspoon cinnamon and 2 tablespoons sugar. Using a pastry bag fitted with a large plain tip (Ateco No. 809 or Wilton No. 1A), pipe frosting on each cupcake: Hold bag over cupcake with tip just above top, and squeeze to create a dome of frosting, then release pressure and pull up to form a peak. Using a small, fine sieve, dust peaks with cinnamon-sugar. Cupcakes are best eaten the day they are frosted; keep at room temperature until ready to serve.

Seven-Minute Frosting

  • 1 and 1/2 cups plus 2 tablespoons sugar
  • 2/3 cup water
  • 2 tablespoons light corn syrup
  • 6 large egg whites, room temperature
  • (Optional: 1/2 teaspoon vanilla extract)
  • For Coconut Variation: Add 1/2 teaspoon pure coconut extract at the end of step 3, whisking to combine.
  • For Coffee Variation: Add 2 tablespoons pure coffee extract at the end of step 3, whisking to combine.

Directions

  1. Combine 1 1/2 cups sugar with the water and corn syrup in a small saucepan; clip a candy thermometer to side of pan. Bring to a boil over medium heat, stirring occasionally, until sugar dissolves. Continue boiling, without stirring, until syrup reaches 230 degrees.
  2. Meanwhile, in the bowl of a standing electric mixer fitted with the
    whisk attachment, whisk egg whites on medium-high speed until soft peaks form. With mixer running, add remaining 2 tablespoons sugar, beating to combine.
  3. As soon as sugar syrup reaches 230 degrees, remove from heat. With mixer on medium-low speed, pour syrup down side of bowl in a slow, steady stream. Raise speed to medium-high; whisk until mixture is completely cool (test by touching the bottom of the bowl) and stiff (but not dry) peaks form, about 7 minutes. Use immediately.

Both recipes adapted from Martha Stewart

Optional Buttercream Recipe:

  • 4 sticks unsalted butter, softened
  • pinch of fine grain sea salt
  • 1 tablespoon clear vanilla extract
  • 2 pounds confectioners’ sugar, sifted
  • 4-6 tablespoons heavy cream or milk

Directions

  1. In a large mixing bowl, cream butter until fluffy. Slowly add in confectioner’s sugar, and continue creaming until well blended.
  2. Add salt, vanilla, and 3 tablespoons of heavy cream or milk. Blend on low speed until moistened. Add an additional 1 to 3 tablespoons of heavy cream or milk until you reach the desired consistency. Beat at high speed until frosting is smooth and fluffy.

adapted from My Baking Addiction

Posted in Cupcakes | Tagged , , , , , | 39 Comments

Homemade Goldfish Crackers…With A Homemade Goldfish Cookie Cutter!

After over a week of not so much as stepping inside the kitchen to bake, I suddenly decided yesterday that I wanted to make Goldfish cheese crackers…that’s right. Not square shaped crackers, triangle shaped crackers…but goldfish shaped crackers.

I also decided that I wasn’t willing to order a miniature fish cookie cutter for $13.95 ($7.95 + $6.00 shipping).

A few Google searches later and I had the solution to my dilemma. There was a way to make my own cookie cutter, with supplies I already had in my house! Seriously. It’s supersimple. It may take you more than 2 tries (due to breakage if you fold it too harshly), but it’s not a hassle at all. All you need is an empty soda can, a knife, scissors, and staples (or if you’re like me, tape). I’ve included pictures and directions below :)

And best part? I totally think my goldfish cookie cutter is more accurate than the store-bought one!


After making the cookie cutter, I immediately went to make the cracker recipe, which was quite possibly the easiest thing EVER. All you need is a food processor. Toss in the ingredients, pulse, refrigerate for 30 minutes or so, and you have yourself a prepared cracker dough waiting to be cut and baked :)

Verdict: these crackers were great! Not a carbon-copy of the original Goldfish crackers, since they were a little chewier and less crunchy, but they’re addictive. I think it’s because I used cheddar sauce instead of cheese, which I wouldn’t recommend.
UPDATE: They get crunchy the next day! They were just chewy the first day. They’re not “hollow and crisp” like real Goldfish crackers, but they’re still crunchy :)

All in all a really cool recipe (and super easy). Also fun to make with a friend! (Or a brother…who decided that Siamese Goldfish crackers should be created).

Hope you guys enjoy these–I know I did!

Goldfish Cheddar Crackers

  • 1 cup(s) all-purpose flour
  • 4 tablespoon(s) cold unsalted butter, cut into small pieces (I used salted butter, but didn’t add any salt afterward)
  • 8 ounce(s) grated extra-sharp Cheddar cheese (around 2 cups). Note: you can experiment with other cheeses. Some people have tried this and loved the results!
  • 3/4 teaspoon(s) salt
  • 1/8 teaspoon onion powder (note: this is optional since it isn’t part of the original recipe, but I decided to add anyway since I used it)
  • 1/2 teaspoon(s) fresh-ground pepper

(UPDATE #2: I think 1-2 teaspoons of baking powder might help it puff up…but I’m not sure since I haven’t tried it. If anybody decides to try this, please let me know.)

Directions

  1. Pulse the flour,onion powder, 1/2 teaspoon salt, and pepper together using a food processor.
  2. Add the butter and cheese, and pulse until the mixture resembles coarse meal.
  3. Pulse in 3 to 4 tablespoons of water, 1 tablespoon at a time, and only enough so that the dough forms a ball and rides the blade. Remove, wrap in plastic, and chill for 20 minutes (I put it in the freezer for 20 minutes and in the fridge for 10) or up to 24 hours.
  4. Bake the crackers: Heat oven to 350 degrees F. Line 2 baking pans with parchment paper or silicone baking mats and set aside. Roll the dough out to 1/8th-inch thickness, using flour if necessary to prevent stickiness. Cut out as many crackers as possible.
  5. To add character to the fish: break off an end from a side of a toothpick so it is blunt. Use that point to make the goldfish eyes. To make the smile, lay the toothpick down on its side, press, and drag. If you try to use the toothpick point, it will ruin the smile.
  6. Optional: Refrigerate for another 15 minutes or so to make sure they won’t spread.
  7. Place them on the prepared baking pans. Bake until golden and crisp (13-18 minutes). Transfer to a wire rack to cool.
  8. They are best when completely cooled and the next day in my opinion. Store in an airtight container for up to 1 week.

Adapted from Country Living

To Make Homemade Goldfish Cookie Cutter: (In case reading directions is hard to understand, here is another blog with pictures on how to make the goldfish cookie cutter)

Before beginning: When handling cut metal, you must be careful–especially if there are children involved with the project.

  1. Draw outline of goldfish on a piece of paper for reference. (Mine was about an inch in length)
  2. Take an empty soda can and cut through it horizontally using a sharp knife.
  3. Using your scissors, cut a strip of metal from the soda can (it should be the circumference of the soda can).
  4. Straighten edges with scissors
  5. Using your goldfish paper template, determine how big the head will be and fold both sides outwards accordingly. Don’t fold too harshly or the strip will break. If this happens, just cut off another strip and start again.
  6. Using your template, determine when to fold the tail. Make sure the end of the tail overlaps at some point, and cut off the excess strip if necessary.
  7. Staple or tape or glue the ends of the tail together. (I used tape over the tail).
  8. For more safety, you may put a protective layer of tape over the top part of the fish (the non-cookie cutting side where you’ll be applying the pressure) as a protection against the metal when cutting. (Thanks, maxrndfx)
Posted in Uncategorized | Tagged , , , , , , | 277 Comments

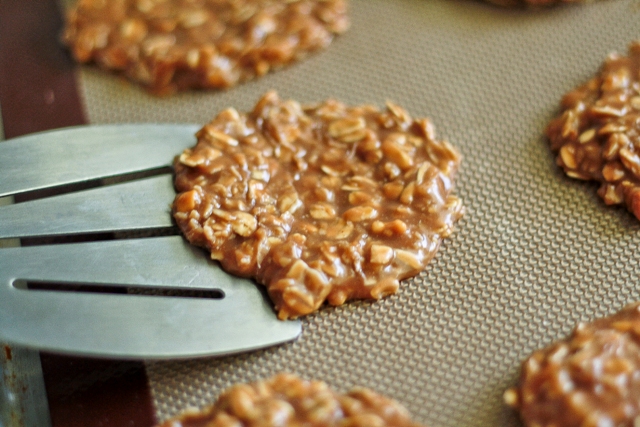
10-Minute No-Bake Peanut Butter Chocolate Cookies

Miss Anthropist’s Kitchen has moved! http://www.missanthropistskitchen.com/10-minute-no-bake-peanut-butter-chocolate-cookies-also-longest-title-ever/

Posted in Cookies | 28 Comments

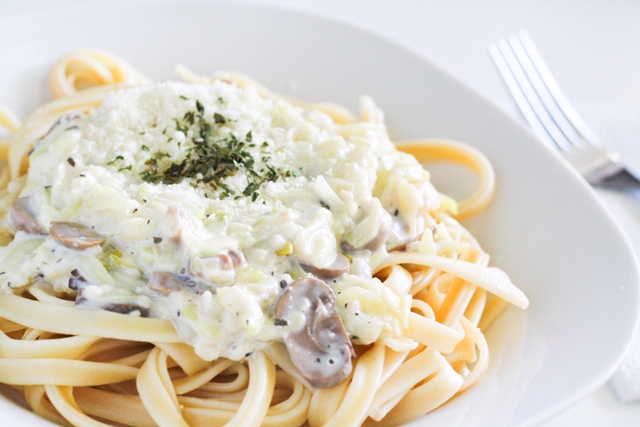
Zucchini Alfredo (made low-fat!)
My childhood memories are more-or-less limited to Rugrats and Nintendo 64 (aka the good old days)…but from what I can recall, zucchini was one of those vegetables that made us whine and groan and mumble whenever it the star ingredient at the dinner table.

In case you can’t imagine it, it went something like this: “Moooooooooomm!

My mom used to make it only one certain way, and although my taste buds have matured enough for me to appreciate it now, it certainly wasn’t appealing back then.

But let me tell you something…if my 6-year-old self had tried this zucchini alfredo…she would have been shocked. From that point on, she would have liked zucchini. Loved zucchini. Possibly eaten zucchini while playing with her barbies.

Okay, not really to that last part. But seriously, this is some good alfredo.

I made the sauce low-fat by using low-fat milk and fat-free cream cheese just so you can have seconds…not that it matters, because you’d probably have seconds anyway.

Continue reading

Posted in Uncategorized | 28 Comments

Mini Blackberry Cobblers

It’s blackberry season! …No, not the BBM kind of blackberry. I’m talking about nature’s blackberry.

Blackberries are totally underrated. Sure, they’re a little tart and not as sweet as their raspberry or blueberry cousins, but once they’re paired with a little sugar, you can’t get enough of them.

In case you’re not fluent in culinary language and are wondering what the heck a cobbler is, cobblers are more or less like pies…the main difference is that instead of pie crust, you make this pastry dough type thing (which takes approximately 10 seconds to make), slap it on top of the filling, and you’re good to go. Easy, right?

I decided to make mini-cobblers because I figured it would be cuter. I mean, seriously…the ramekins just made them over-the-top cute.

This cobbler is easy and delicious.

And in case you were wondering…the best way to eat a cobbler is with a giant spoon.

Mini Blackberry Cobblers

Ingredients

  • 1 cup all-purpose flour
  • 1/2 cup white sugar
  • 1 teaspoon baking powder
  • 1/4 teaspoon cinnamon
  • 1/2 teaspoon salt
  • 6 tablespoons cold butter
  • 1/4 cup boiling water
  • 2 tablespoons cornstarch
  • 1 cup sugar
  • 1/4 cup cold water
  • 1 tablespoon lemon juice
  • 1/2 teaspoon cinnamon
  • 4 cups fresh blackberries, rinsed and drained

Directions

  1. Preheat oven to 400 degrees F (200 degrees C).
  2. In a large bowl, mix the flour, 1/2 cup sugar, baking powder, and salt. Cut in butter until the mixture resembles coarse crumbs. Stir in 1/4 cup boiling water just until mixture is evenly moist.
  3. In a separate bowl, dissolve the cornstarch in cold water. Mix in remaining 1 cup sugar, lemon juice, and blackberries.
  4. Transfer to a skillet, and bring to a boil, stirring frequently.
  5. Evenly distribute sauce mixture to 8 ramekins.
  6. Drop dough on top of mixture in the ramekins by spoonfuls.
  7. TO AVOID A MESS, place ramekins on a baking sheet before baking.
  8. Bake 15-20 minutes in the preheated oven, until dough is golden brown.

slightly adapted from allrecipes.com

Posted in Uncategorized | 40 Comments

Petite Lasagnas

Ah, Garfield the Cat would be so excited for this post. (Anyone remember Garfield by the way?)

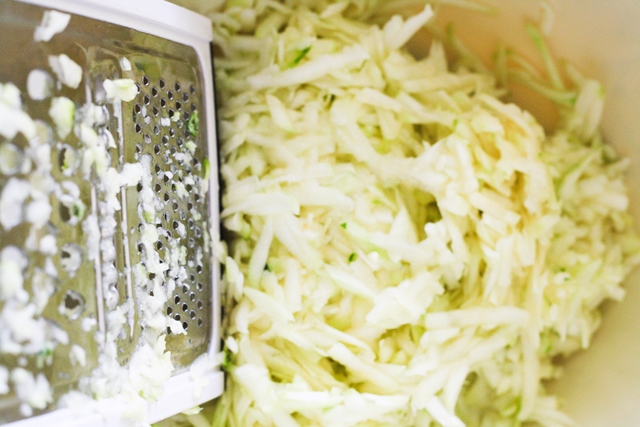
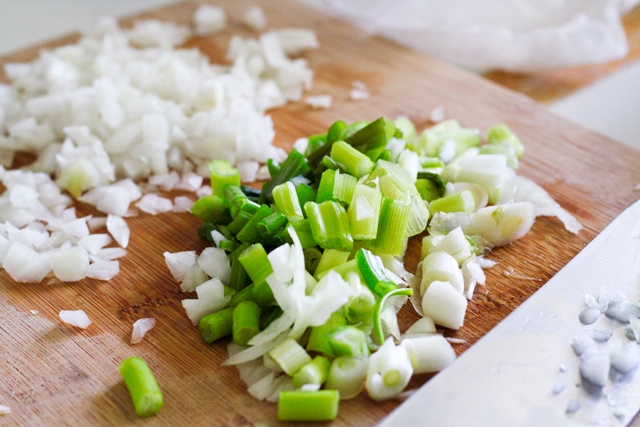
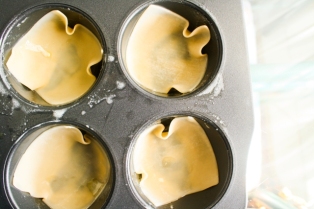
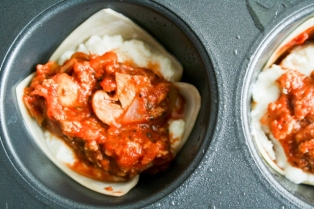
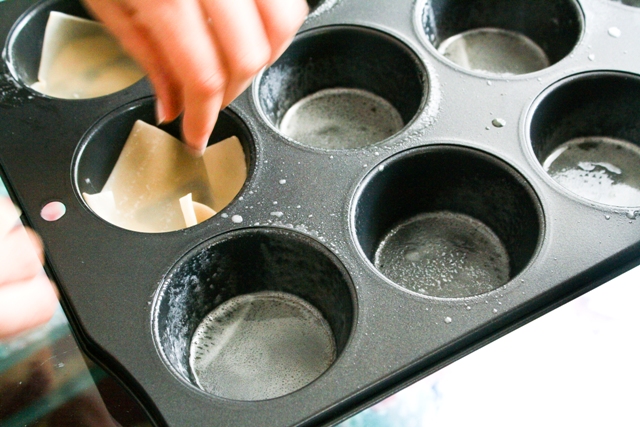
Although I’m not much of a lasagna person, I thought these little treats were delicious! I made them with my friends (which is why you can see 2 hands in the first picture) the same day we made the parmesan zucchini bread sticks. It was a yummy day.

But…here comes the shocker: there is absolutely no pasta in this recipe.

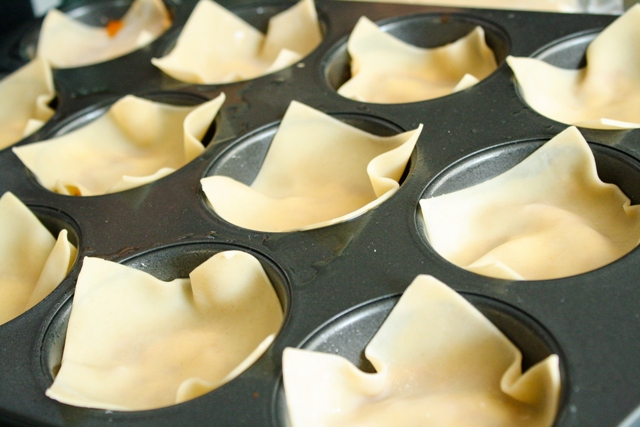
I know. We were confused too, but as soon as we tasted it, we understood why. Somehow the wonton wrappers end up tasting exactly like pasta.

I don’t have a proper picture of the final result, but I don’t think it matters. I think it’s obvious how delicious this is. Lasagna lovers rejoice!

Continue reading

Posted in Uncategorized | 25 Comments

No-Bake Strawberry Pie

Sometimes I just can’t muster up the motivation to blog.

I have to bake something new, take decent pictures, edit said-pictures, and write an entire blog post about it. Also, I tend to get lazy once I’ve watched a 3-day Harry Potter movie marathon (even though the books are 100x better).

My laziness is precisely the reason you should subscribe to the blog by email (found on the right side >>) and/or like the page on Facebook…yes, it sounds like I’m spamming, but believe me, it’s far easier than checking the site to see if I’ve updated. I’m not very dependable.

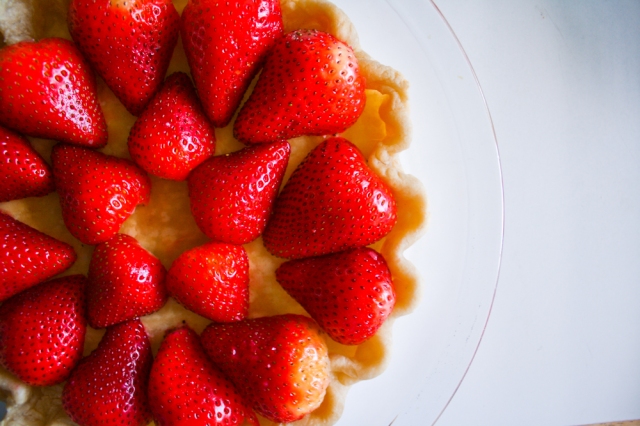
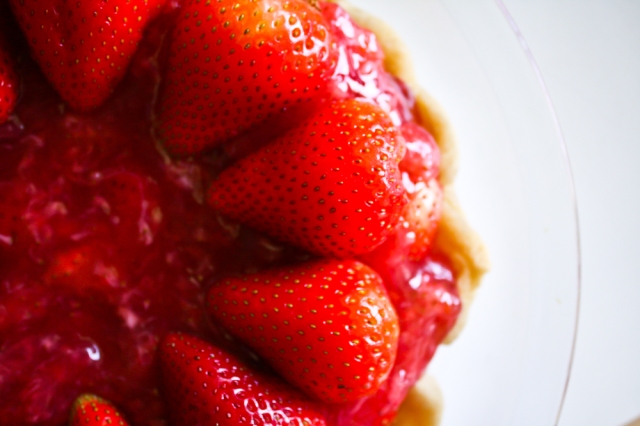
But! When I am dependable, I tend to make really delicious things. Take this strawberry pie for example. But no oven for this pie, no sir–this is a no-bake strawberry pie!

The advantages of strawberry pie:

  1. It’s easier than apple pie. You don’t have to peel/dice the strawberries–only halve them.
  2. No butter required! Which means less fat…which means more pieces for you.
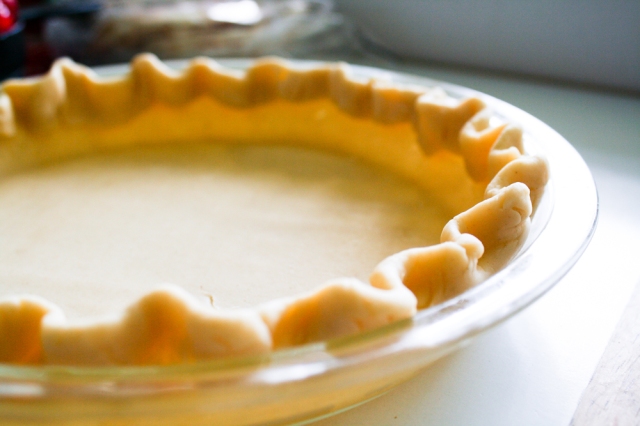
  3. You don’t bake it. Just bake the crust while you’re preparing the filling.
  4. It’s unique and full of greatness. When was the last time you heard of strawberry pie?

Continue reading

Posted in Uncategorized | 32 Comments

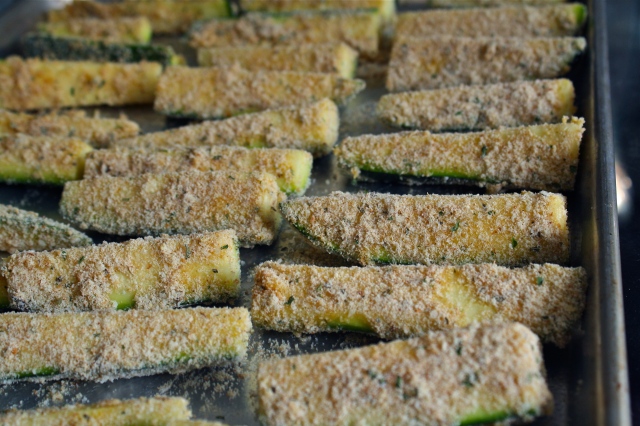
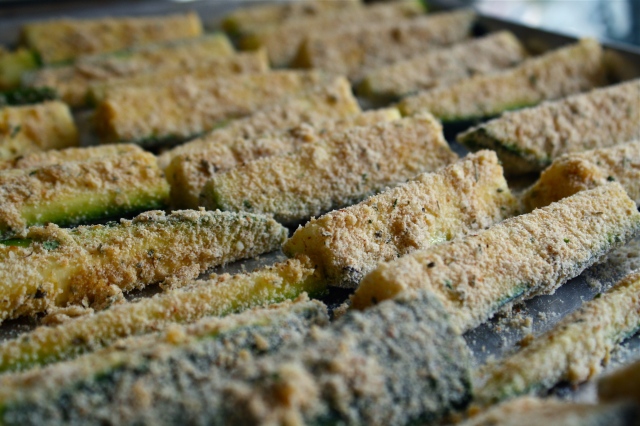
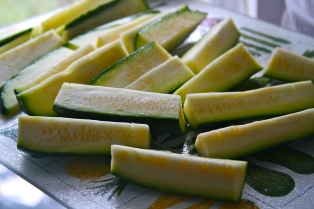
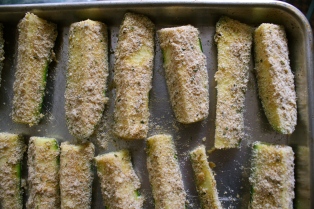
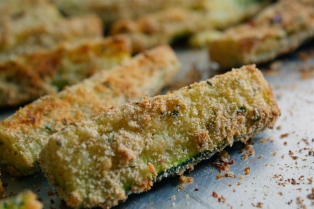
Baked Parmesan Zucchini Sticks

Are these legal? Because I’m not so sure.

I mean, can anything this good be anything but illegal? Crunchy breadcrumb/parmesan outside with a soft, baked zucchini inside.

They’re incredible. They’re ridiculously easy to make. They’re addictive.

But wait! Don’t call the cops just yet. I want to share it with you. Because that’s what friends do. Friends exchange greatness with each other.

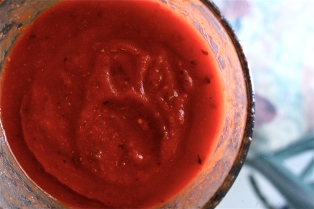
And a little secret? They’re unbelievably great with tomato sauce dip. One bite and you’ll think you’re in an Italian restaurant.

Continue reading

Posted in Uncategorized | 33 Comments

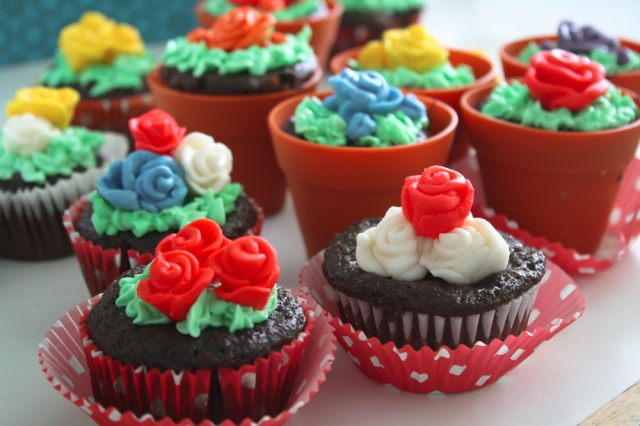
Mother’s Day Rose Cupcake Garden

Happy Mother’s Day! What did you get your mom?

I got her flowers.

Lots of flowers.

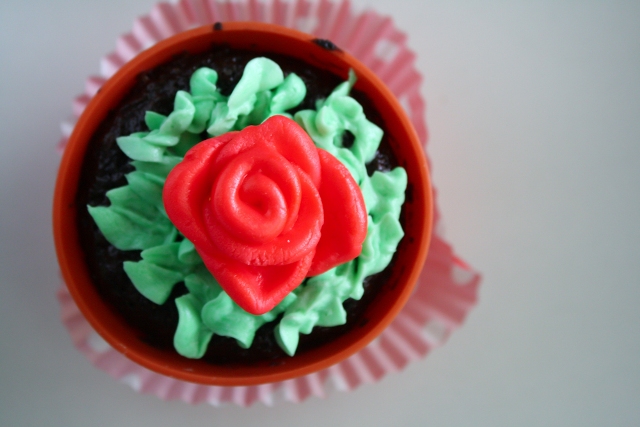
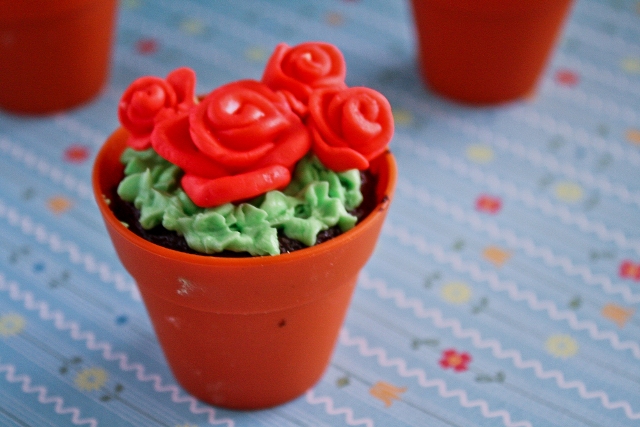
I was innocently browsing the bakeware/cookware section when I stumbled upon these adorable silicon pot cupcakes. I realized Mother’s Day was coming up, and since my mom loves flowers + I had leftover marshmallow fluff fondant, I thought homemade flower cupcakes would be a real treat! Continue reading

Posted in Uncategorized | 28 Comments

Spinach-Stuffed Twice Baked Potatoes…and Toast

I’ve developed an addiction. A serious addiction.

An addiction to Pinterest.

In case you didn’t know, Pinterest is a website dedicated to “pinning” pictures of links to everything you love, whether it’s food (me!), photography, crafts, furniture, etc… it’s great. I’ve been pinning food for the past 4 days and have over 120 pins on my list now.

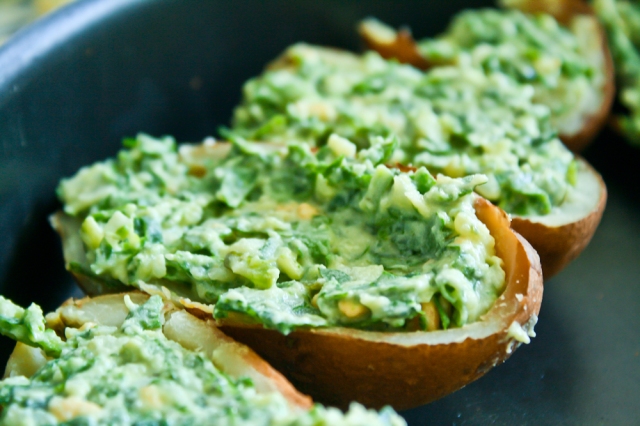
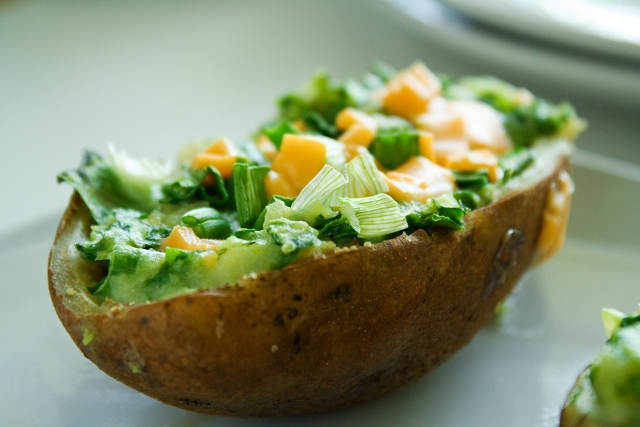
The site has given me inspiration. It’s motivated me to cook! And take pretty pictures. And create things like these spinach-sour cream-onion-cheddar cheese-stuffed twice baked potatoes…in a word? Scrumptious.

When you bite into one, all is right in the world. The flavors are fantastic (just don’t hold out on the sour cream and salt), and the texture is smooth and creamy.

Continue reading

Posted in Uncategorized | 35 Comments

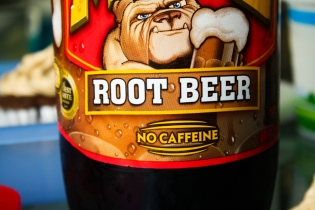
Root Beer Cupcakes

Hi. I have a little math quiz for you.

My brother winning first place in a county writing competition (so proud!) [plus] the fact that my brother loves root beer (the nonalcoholic beverage of course!) [equals] …

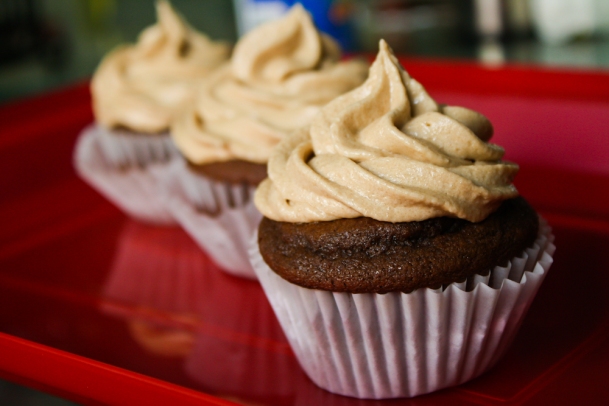
Root beer cupcakes!

Fact: Root Beer Frosting is heavenly. Like, lick-your-fingers-and-the-whisks-and-the-bowl-heavenly.

Fact: I had no intention of watching The Royal Wedding but did anyway because everyone was getting a hernia over it. Call me old fashioned (and Muslim), but weddings nowadays have lost their charm because of all these prenuptial relationships (a person doesn’t exactly require marriage in order to conceive a child nowadays, if you catch my drift). I feel like since they were already together for 8 years (doing God knows what), it wasn’t really… “magical”, albeit an admittedly magnificent wedding altogether.

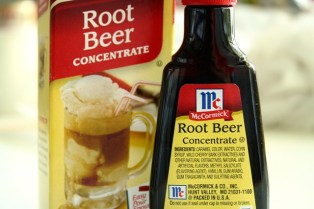
Back to the cupcakes! I bought root beer concentrate a while ago because they were non-alcoholic and I figured one day I’d probably make something for my brother, who happens to be a root beer aficionado, with it. These cupcakes couldn’t have turned out better (in my humble opinion).

Continue reading

Posted in Cupcakes | Tagged , , , , , | 25 Comments

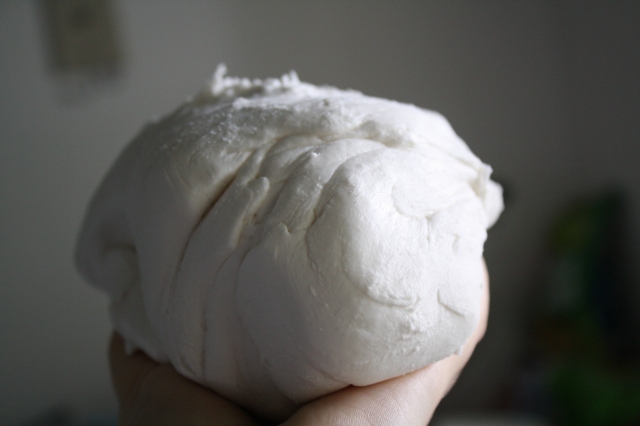
Marshmallow (Fluff) Fondant

Remember when I mentioned how disastrous my last attempt with fondant was (and had to make the dulce de leche cake instead)? I’d wanted to make a fondant drum cake for my brother’s birthday since he asked for a drumset (yeah right little brother). Unfortunately, I’d made the frosting too runny and sticky on the cake and it ended up messing up the fondant, so I just decided to do without it.

I figured, though, that the marshmallow fluff fondant might be an interesting thing to share :) This is the fondant I used to make the icons and buttons on the iPhone cake. If you attempt to make marshmallow fondant, all you need are 2 ingredients!

Marshmallow fluff and powdered sugar. That’s all there is to it! And of course, you’ll need a nonstick spray to keep the fluff from sticking to your bowl.

Continue reading

Posted in Uncategorized | 39 Comments